Oak Bench Created From A True 2×4
This blog post is about how I created an Oak bench from a true 2×4 for my son Ari.

Personalized bench for each of my Children
Each of my children get a personalized bench handcrafted by me. This blog post shows how I created an Oak bench for my son Ari. The below picture is of my daughter Mia’s Maple and Ari’s Oak bench. My brothers and me were all given benches with our name on them. I wanted to keep this tradition going with my children.
The Project Begins
My dad has kept a lot of old wood over the years. There are a few diamonds in the rough including this piece. The bench started out as a 10 ft Oak 2×4. Since it is an old 2×4, the measurements on the wood actually were 2 inches x 4 inches.
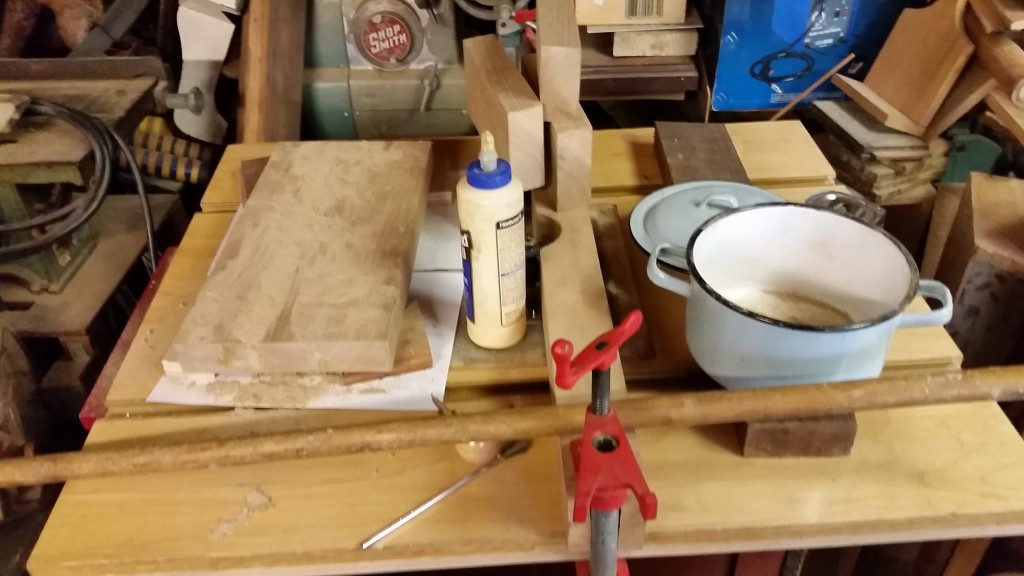
The first thing I did was to create the top part of the bench. I cut down the width of the middle piece to reduce the width of the top. The boards were connected together with wood glue and biscuits.
After the glue dried, I trimmed down the sides and used a big belt sander to even out the top and bottom. We have a small planer but did not set it up yet.
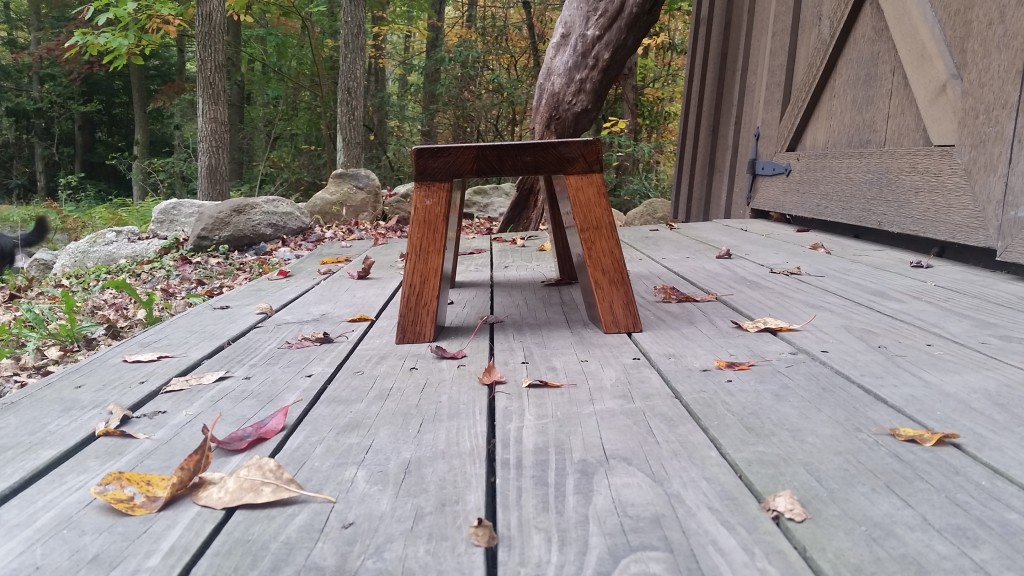
The legs were cut on a angle to give the bench more stability. The bottom of each leg sits wider than each side as you can see in the below picture.
The angle of the legs creates an unstable joint only using glue. I was even worried to only use biscuits. In the below picture you can see the holes drilled into the top. This allowed me to put a 1/2 OAK dowel in each one that went into each leg a little more than a half inch.
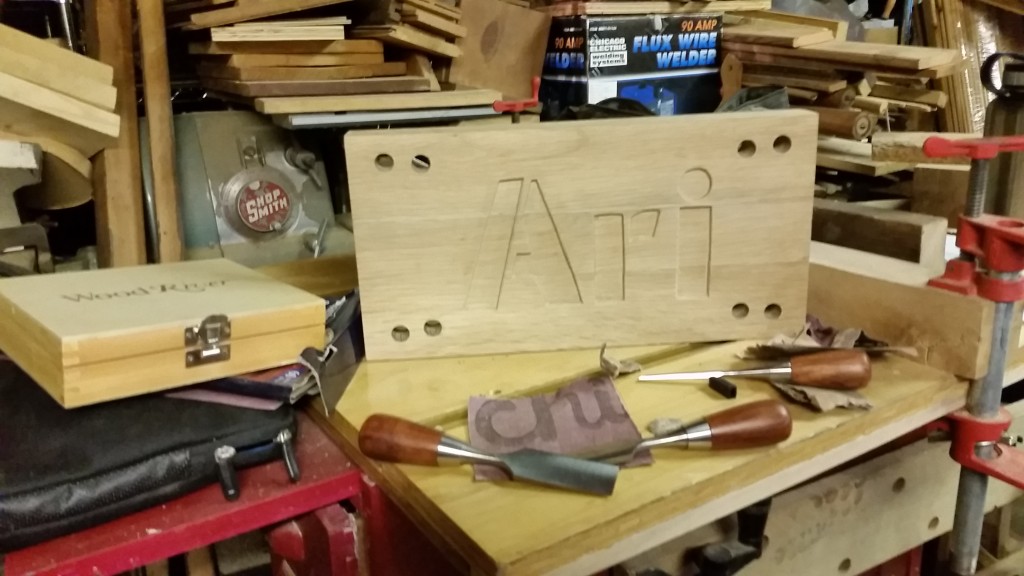
Each bench that I create for my children have their name placed on it. For this design I decided to router and chisel out Ari’s name. Above is the pencil drawing of the letters. Below is the end product of the router and chisel.
Whenever I create a new piece, I add my brand that says “Handcrafted by David Carlyon Russell” with a tree. The branding iron was purchased from Brand New Industries Inc.
The tricky part was getting the legs on. Below is a picture of how I setup the clamps to get the legs on.
The legs had to be put on two at a time to make it easier for me to work. Before the clamps were placed on I needed to hammer the dowels into the bench top so the extra was sticking out of the bottom. The dowels and top needed time to allow the glue to set. When the dowels were set I was able to put the legs on. At first, I had to hammer the legs on to the dowels. To make sure there was a perfect fit and angle I needed to use the clamps. I ended up doing it the way you see above.
The above picture shows a picture of my beautiful daughter Mia. She was a great help. In the background is the finished woodworking part of the project.
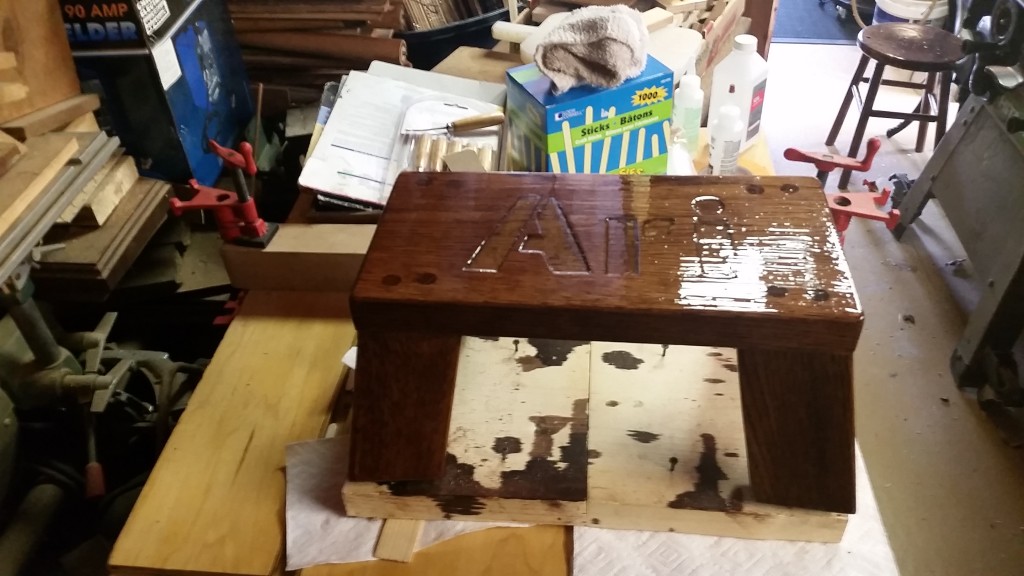
My wife and I are a big fan of dark stains. This stain is a Red Mahogany. It shows the beautiful Oak grain. The one step that I do not have a picture of is the epoxy filler that I placed in the letters. You can see the supplies needed for that behind the bench in the above picture. It certainly was not easy to do the epoxy. Air bubbles, not mixing the epoxy enough, and putting it on a level surface to cure were some issues that I came across. Hints: Make sure to mix the epoxy enough or else it will never setup. Use a hair drier to release some bubbles in the epoxy. Make sure you have a level table so the epoxy does not settle unevenly. Use 30 minute setup and nothing less. The epoxy sets up quick and you need that time to work.
After the epoxy was setup in the letters I was able to put the oil based polyurethane on. I did three coats and the following pictures are the completed product.


